Buying Guides, Getting Started
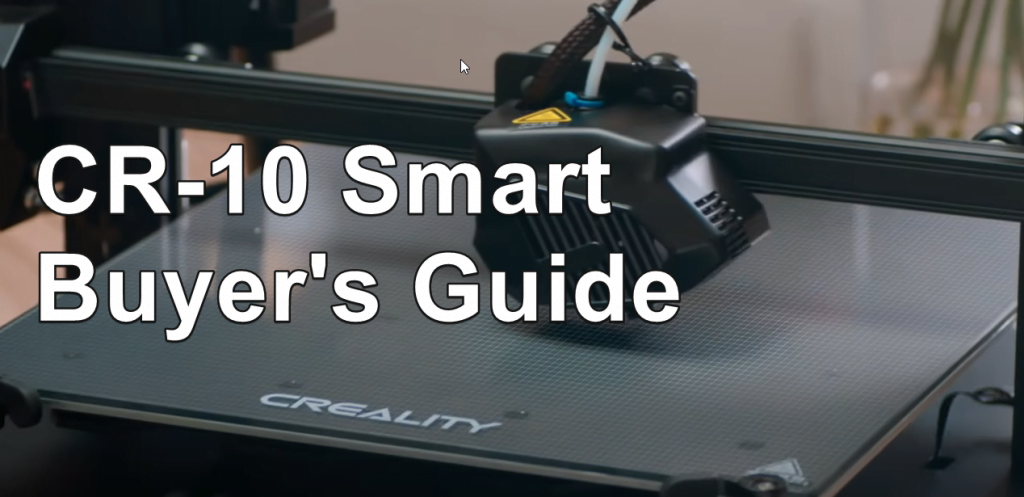
CR10 Smart : Buyer’s Guide
Aug
Congratulation for becoming a CR-10 Smart owner. This is an amazing medium size of CR-6 SE with remote printing & much sturdy build. Despite the amazing features of the machine, unfortunately the QC wasn’t done right & firmware wasn’t really ready yet. Fortunately the CR-10 Smart is a very simple machine to assemble and if you follow this guide you will be able to eliminate all initial issues to begin with.
Assemble the CR-10 Smart
Assembly is easy, just follow the video below to complete the assemble. The tool box including SD Card & Accessories is at the front panel of the printer. Make sure all the wires are plugged in.
Level the X axis (Recommended)
The very first thing after assembled, is the level your x axis, make sure left and right z are at the same height. My unit right is a little lower than left and we have to loosen the belt pulley, make sure both left and right is align.
Adjust the Hotend Eccentric Nut
This is very important step, CR-10 Smart is using Strain Gauge Leveling, the hotend I received is wobbling and it causes the leveling to push further down, it will scratch your glass bed or even damage your nozzle during your first print. Adjust the eccentric nut using a 8mm Spanner to tighten the wheel & make it less wobble. Not too tight.

Update Firmware (Optional)
The machine I received is using firmware 1.0.6 . The current firmware is lackluster compared to community firmware but at the moment it’s good to update it in case there are certain bug fixes. Below are the summary to update the firmware. DO NOT update if you don’t know what to do.
Preparation:
-SD Card (to flash motherboard firmware)
-MicroSD Card (1-16GB to flash screen firmware) (Anything lower and higher than that may not be able to flash, because you can’t set 4096 allocation unit)
Step 1 (Flash Screen Firmware with MicroSD)
1) Download the latest firmware from Creality website (At the moment is 1.0.8 Beta) or Here
2) Format the MicroSD Card into FAT32 4096KB (most important otherwise screen flashing will fail)
3) Copy the DWIN_SET folder into the root of the MicroSD Card
4) Open up the screen cover and insert the microSD from the screen.
5) Power on the printer & screen will light up blue
6) Wait for a few minutes until the printer screen display “END”, If the END happens within seconds, it means flashed failed.
Step 2 (Flash Motherboard Firmware with SD)
2) Format the SD Card into FAT32,
3) Extract and copy the content of the firmware.zip file into the roof of the SD Card
4) Insert the SD Card and hold Power On button.
5) Keep holding the power button until the Creality Logo animation moved. (about 10~15 seconds)
6) Check the firmware version by going into Setting > About Machine> Firmware version
Start CR-10 Smart & Level your bed
Once you are ready, press level & you are good to go. For safety and you doesn’t want to scratch your bed, you can go to the AUX Leveling, set Z offset to 0.3~0.4, and during start printing, only lower it down.
Insert filament through Filament Sensor
Insert the filament through the filament sensor, if you are having hard time to insert, do bend the end of the filament to another side & try again. Remember to open up the extruder arm when insert the filament, else you gonna struggle to put it in.

Creality Cloud (Updating)
This machine is heavily bind to the Creality Cloud so, to get the remote monitor print & monitor works, you must download Creality Cloud, register a profile, then scan & add the CR-10 Smart into the Device List.

Connect Creality Camera to CR-10 Smart
Connecting Camera is never been easier, but only a few certified camera able to connect. Just plug in the USB port at the side and you are good to go!


The hot end became clogged on my CR-10 Smart. I can see clear through the replacement hot ends…but not the one I’ve been using.–which makes me think maybe the Bowden tube melted. (The clog appears white and I was using a brown PLA- my Bowden tube is white). I ordered a replacement, but there is none available for the CR-10 Smart. I took a stab at it–and got a CR-10 S. My question—are they interchangeable? I don’t want to completely replace my original (only 4 months use) unless I have to—but I also don’t’ want to screw anything up by replacing it with a hot end that isn’t made for it?
Hello
can i ask about the camera?
wich types of camera can i connect?
i need to update ot do something that it will work?
Firmwere – HW 1.0.6
Hardware – DWIN4.3
Thanks
No update needed for the camera, try update firmware for better leveling & performance.
Just so you’re aware, only Creality branded cameras work with this – not just any webcam. I just decided to get myself a raspberry pi and a cheap camera off Amazon and run it through Octoprint, as I found the community made apps for that are also much better than the Creality one.
@Ben – I thought that was the case also, but most webcams don’t support H.264 video format, while most support MP4. The Creality Box does not support MP4, so you can use any generic webcam that supports H.264. I tested mine with this one from Amazon (https://www.amazon.com/gp/product/B088D1W7F3) and it has a better picture than the Creality one, but more latency.