More Guides
A Comprehensive Guide to Essential 3D Printing Materials
Understanding 3D printing materials is crucial for project success. At Smith3D, we’ve helped thousands of clients navigate these choices, from architects crafting detailed models to engineers developing functional prototypes. This comprehensive guide draws from our real-world experience to help you make informed decisions about materials.
Understanding 3D Printing Technologies
Two primary technologies dominate the 3D printing landscape: FDM and resin printing. Each serves distinct needs and understanding their differences is your first step toward successful prints. FDM technology, which builds objects layer by layer with melted plastic, offers versatility and cost-effectiveness for most projects. We’ve seen architects use FDM extensively for iterative design models, while engineering firms rely on it for functional prototypes.
Resin printing, though more specialized, delivers exceptional detail for smaller objects. Jewelry designers and dental professionals particularly value this technology for its ability to capture intricate details and produce smooth surfaces without visible layer lines.
Key Technology Comparisons
FDM Benefits:
- Cost-effective for larger models
- Wider material selection
- Easier post-processing
- Better for functional parts
- Faster production time
Resin Benefits:
- Ultra-fine detail capability
- Smooth surface finish
- Professional appearance
- Perfect for small, intricate parts
- Excellent for medical/dental models
3D Printing Materials Quick Reference
| Material | Best For | Real-World Examples |
|---|---|---|
| PLA/PLA+ | Prototypes, Models | Architectural models, Product prototypes |
| PETG | Functional Parts | Outdoor signs, Machine parts |
| ABS/ABS+ | Engineering Parts | Automotive components, Tool housings |
| Resin | Detail Work | Jewelry prototypes, Dental models |
PLA and PLA+: The Versatile Standard
![A Comprehensive Guide to Essential 3D Printing Materials 2 Esun pla+ filament 1kg 1.75mm - enhanced strength & durability pla for 3d printing - [new] space blue](https://www.smith3d.com/wp-content/uploads/2024/10/ezgif-2-eac593ed45_1690350312-1.jpg)
PLA has earned its place as our most requested material through consistent performance and versatility. Local architecture firms regularly use it for client presentations, while product designers depend on it for rapid prototyping. One of our clients, a boutique toy designer, uses PLA exclusively for their prototype series due to its excellent detail reproduction and cost-effectiveness.
Printing Specifications:
- Print temperature: 190~220°C
- Bed temperature: 50~60°C
- Layer height: 0.1-0.3mm
- Minimum wall thickness: 2mm
Real-World Applications:
- Architectural firm creating development presentation models
- Product designer iterating through prototypes
- Education institute printing learning aids
- Artist creating exhibition pieces
- Maker developing custom gadget housings
PETG: The Durable Middle Ground

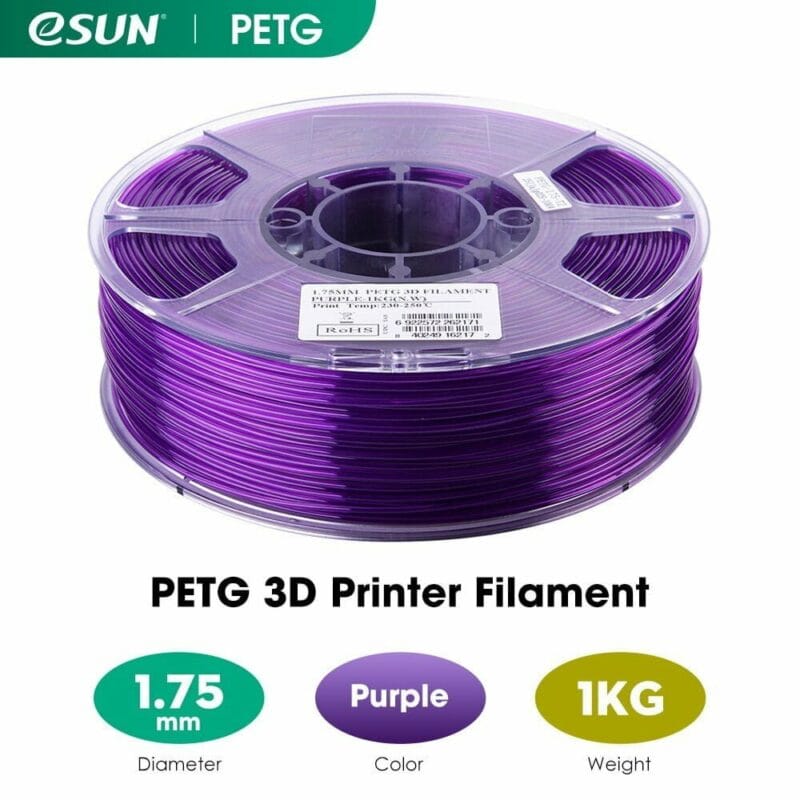
PETG bridges the gap between basic printing and professional-grade results. A local signage company switched from PLA to PETG for their outdoor displays after experiencing durability issues. Another success story comes from a food packaging manufacturer who uses PETG for prototype containers due to its food-safe properties and water resistance.
Printing Specifications:
- Print temperature: 230~240°C
- Bed temperature: 70°C
- Layer height: 0.1-0.3mm
- Minimum wall thickness: 2mm
Practical Applications:
- Outdoor sign company creating weather-resistant displays
- Food container manufacturer prototyping new designs
- Machine shop producing custom tool holders
- Aquarium enthusiast making custom filter components
- Small business creating point-of-sale displays
ABS and ABS+: Engineering-Grade Performance

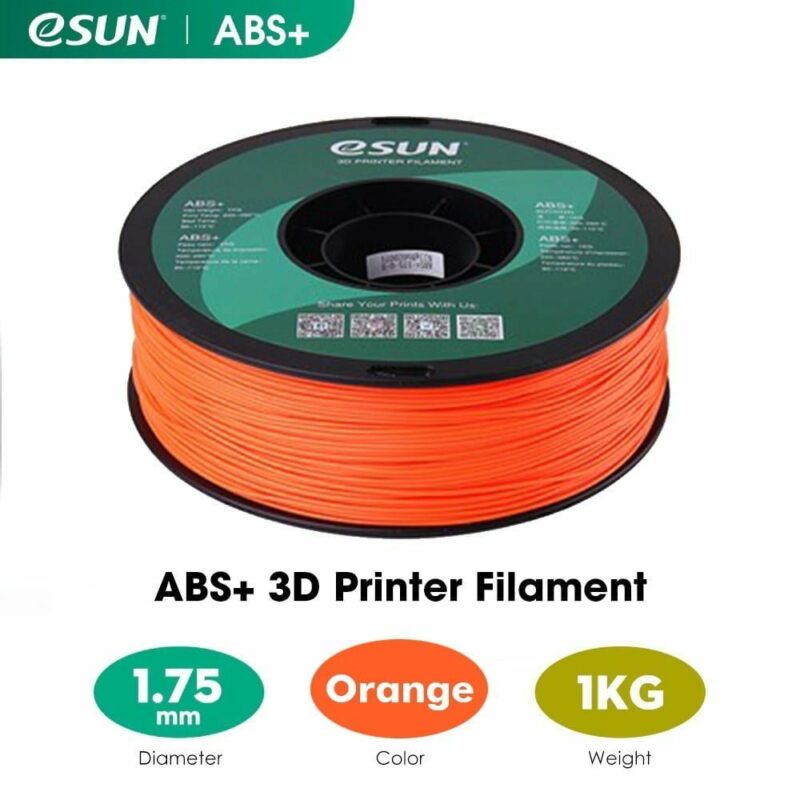
When a local automotive parts manufacturer needed to prototype custom components, ABS proved invaluable due to its heat resistance and durability. Similarly, an industrial equipment manufacturer relies on ABS+ for producing jigs and fixtures that withstand shop floor conditions.
Printing Specifications:
- Print temperature: 250~270°C
- Bed temperature: 100°C
- Layer height: 0.1-0.3mm
- Minimum wall thickness: 2mm
- Enclosure required
Practical Examples:
- Automotive workshop creating custom dashboard components
- Manufacturing facility printing production line tools
- Electronics company making durable enclosures
- Industrial designer prototyping heat-resistant parts
- Robotics team building competition-ready components
Filament Properties (eSun)
| Materials | PLA | PETG | ABS |
| Tensile Strength (MPa) | 60 | 52.2 | 40 |
| Elongation at Break (%) | 20 | 83 | 30 |
| Flexural Strength (MPa) | 74 | 58.1 | 68 |
| Flexural Modulus (MPa) | 1937 | 1073 | 1203 |
| Heat distortion Temperature (℃) | 53 | 64 | 73 |
| UV Protection | None | High | None |
Resin: Premium Detail and Finish

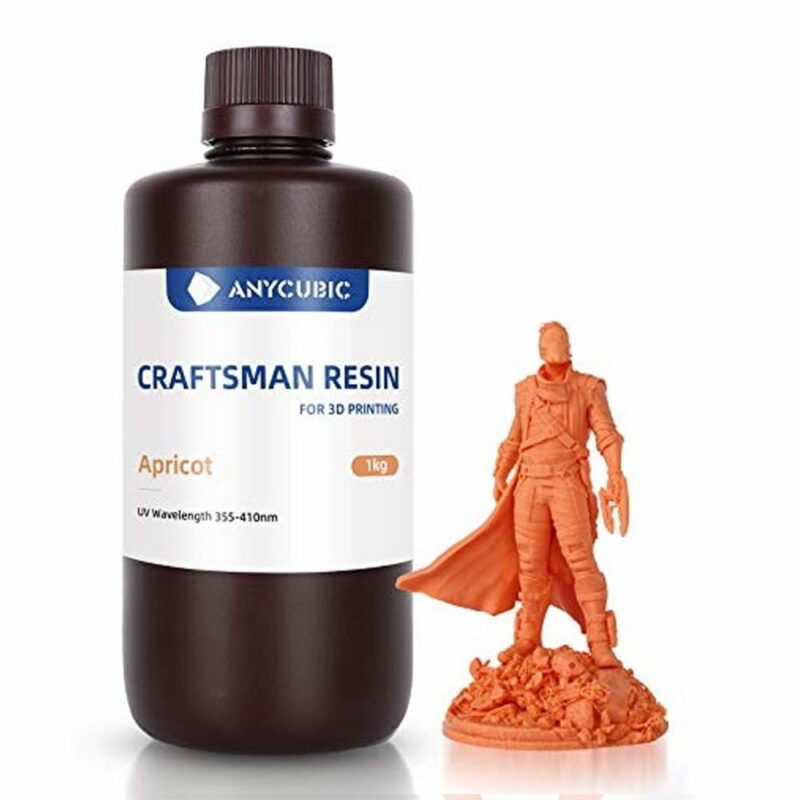
A local jewelry designer revolutionized their prototyping process using our resin printing service, reducing time-to-market for new designs by 60%. Dental laboratories particularly value resin printing for its accuracy in producing surgical guides and models.
Real-World Examples:
- Jeweler prototyping intricate designs
- Dental lab producing surgical guides
- Miniature artist creating detailed figurines
- Museum reproducing historical artifacts
- Medical facility printing anatomical models
Resin Properties (Sunlu | eSun)
| Type | Standard (Sunlu) | ABS-Like (Sunlu) | Nylon-Like (Sunlu) | Flexible 70A (eSun) | Jewelry Casting (eSun) | Dental Casting (eSun) |
| Curing Wavelength (nm) | 395~405 | 395~405 | 395~405 | 395~405 | 395~405 | 395~405 |
| Resin Viscosity (mPa) | 100~350 | 200~400 | N/A | 500~900 | 100~150 | 100~150 |
| Volumetric Shrinkage (%) | 7~9 | 6~8 | N/A | N/A | N/A | N/A |
| Shore Hardness | 80~85D | 75~80D | 75~80D | 70A | 60D | 80D |
| Tensile Strength (MPa) | 36 | 34 | 45 | 4~5 | 42~62 | 42~62 |
| Elongation at Break (%) | 10 | 20 | 20~50 | 250~350 | 11~20 | 11~20 |
| Flexural Strength (MPa) | 40 | 36 | 50 | N/A | 49~58 | 49~58 |
| Flexural Modulus (MPa) | 1430 | 1070 | 900 | N/A | N/A | N/A |
| Heat Deflection Temperature (℃) | 55 | 50 | N/A | N/A | N/A | N/A |
Making Your Choice: A Step-by-Step Decision Guide
1. Define Your Project Requirements
First, answer these basic questions:
- What’s the end use of your part?
- Will it be exposed to heat or sunlight?
- Does it need to be strong or flexible?
- How detailed does it need to be?
- What’s your budget per part?
2. Consider Environmental Factors
Evaluate your part’s operating environment:
- Indoor use only? → Consider PLA
- Outdoor exposure? → Look at PETG or ASA
- High temperatures? → ABS might be necessary
- Water contact? → PETG or resin
- UV exposure? → ASA or treated PETG
3. Assess Mechanical Requirements
Think about physical demands:
- Display only → PLA is sufficient
- Light functional use → PLA+ works well
- Mechanical stress → Consider PETG or ABS
- Impact resistance needed → ABS or PETG
- Flexibility required → Look at TPU options
4. Evaluate Detail Requirements
Detail needs vary by application:
- Basic models → Standard PLA works fine
- Presentation models → High-quality PLA or resin
- Fine detail needed → Resin is best
- Functional prototypes → PLA+ or PETG
- Engineering parts → ABS or PETG
5. Budget Considerations
Balance cost versus requirements:
- Lowest cost → PLA
- Mid-range durability → PETG
- High performance → ABS
- Maximum detail → Resin
6. Timeline and Production Volume
Consider your schedule and quantity:
- Quick turnaround → PLA
- Medium production → PETG/ABS
- High detail, longer wait → Resin
- Large quantities → Consider material bulk pricing
Conclusion: Making Your Final Decision
Choosing the right 3D printing material might seem complex, but it doesn’t have to be. Let’s wrap up the key points to remember as you move forward with your project.
Understanding Trade-offs
Every material choice involves balancing different factors. Our years of experience at Smith3D have shown that successful projects often come down to understanding these essential trade-offs:
Cost vs. Performance:
- Higher cost doesn’t always mean better results
- Consider the total cost, including potential reprints
- Factor in post-processing time and effort
- Think about long-term durability needs
Speed vs. Quality:
- Faster prints might mean visible layer lines
- Higher quality often requires longer print times
- Some materials require slower printing speeds
- Post-processing can affect final timeline
Final Tips for Success
Before making your final decision, consider these proven tips from our experience:
1. Start Small
- Begin with a test print if possible
- Validate material properties for your use case
- Check tolerances and fit if relevant
- Assess surface finish requirements
2. Plan for the Future
- Consider ordering extra for potential replacements
- Think about long-term maintenance
- Factor in environmental aging
- Account for potential design iterations
Getting Started with Smith3D
We’re here to help you succeed with your 3D printing project. Take advantage of our expertise:
How We Can Help:
- Free material consultation
- Expert advice on design optimization
- Post-processing recommendations
- Quality assurance checks
Next Steps
Ready to move forward? Here’s what to do next:
1. Contact Our Team
- Share your project requirements
- Get specific material recommendations
- Discuss timeline and budget
- Review similar case studies
2. Prepare Your Files
- Review design guidelines
- Check wall thicknesses
- Optimize for chosen material
- Consider support structures
Remember, successful 3D printing is about making informed choices based on your specific needs. Whether you’re creating a one-off prototype or planning a production run, Smith3D is here to help you choose the right material and achieve the best possible results for your project.
Need Help?
Contact our team at +(60)10-344 3128 or sales@smith3d.com for personalized assistance with your project. Our technical experts are ready to help you make the best material choice for your specific needs.

